The cauliflower love continues, and in a new form. I mentioned in a previous post about a particular love affair with cauliflower and frequent roasting. So I began to research new methods of cooking this lovely cruciferous treat. You can shred it to look like rice, and make fried 'rice'. There are endless spicy Indian recipes. Potatoes can be substituted with cauliflower to make 'mashed cauliflower'. Then cauliflower pizza crust made an appearance on the screen. You simply shred, steam, and mix with a few binding agents...and a new form is born.
As my best friends and family know, pizza is my go-to food. Whenever I am visiting with S or A, my first suggestion of dining experiences is always pizza. In college when S would be out of town, for some reason, A and I always made these epic pizzas. My mom was just in town a few weeks ago, and we ate pizza at the very least once a day. There are so many varieties out there, the pizza journey is endless...thank goodness.
I grew up eating thick crust pizza. There was a place called Trotta's pizza in my home town that we used to frequent. Each slice probably weighed 1/2 pound. They were like the Cinnabon of pizza; thick doughy crust slathered in marinara and a heavy-handed portion of mozzarella and provolone. Two slices equaled nap time.
Then I moved to Colorado, where Beau Jo's pizza resides. This was my first experience of whole wheat crust. This too was a thick-crusted pizza. You walk in, and are enveloped with the warmth of the pizza oven and the happiness of everyone eating pizza. The special part about this pizza was that each table has a bottle of honey, with the suggestion to drizzle it over your crust as a sort of sweet finish to your last bite of the pizza. Brilliant.
 |
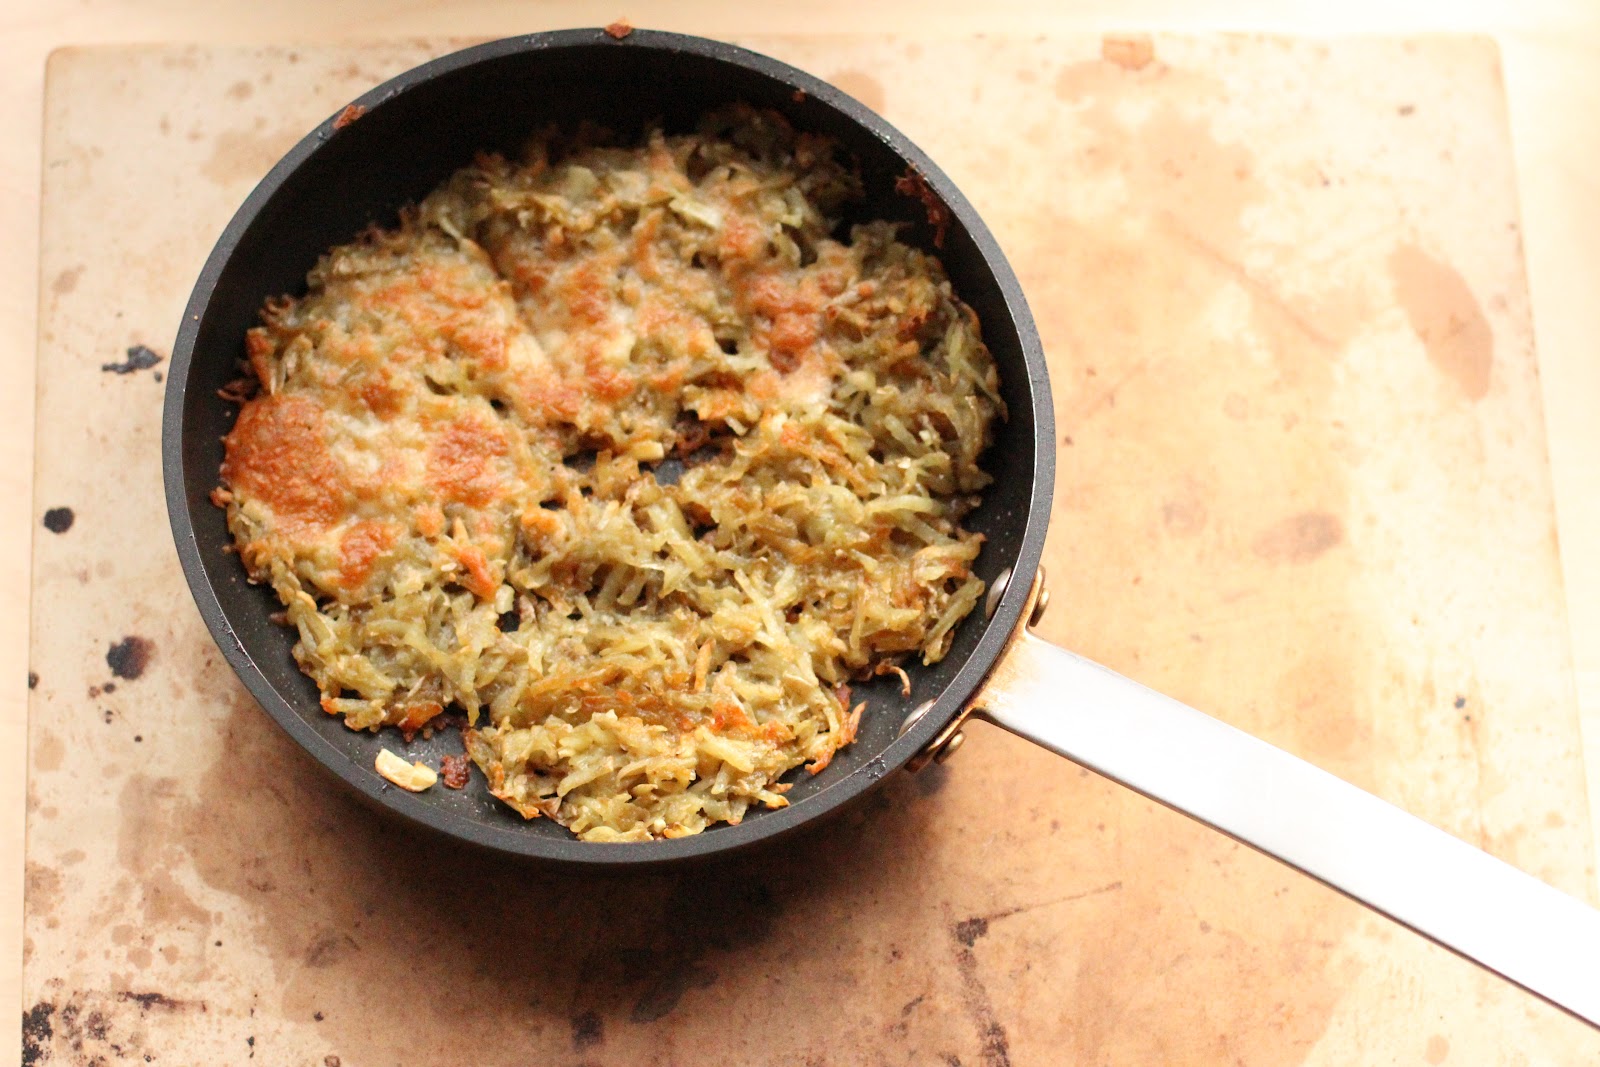
| Shredded cauliflower! |
Then I moved to Seattle, where the pizza is of the thinner variety. Dozens of wood-fired pizza joints around town. Via Tribunali has the best wood-fired pizza topped with little disks of salami that pop into saucer shapes after the rendezvous with 500+ degree flames. I could go on and on and on with the love. But instead I will lead up back to the original topic of cauliflower pizza: shredded cauliflower disguised as pizza crust. Looks like my doughy adventures have a new twist.
Cauliflower Pizza Crust
Yields 1 medium pizza
There are several cauliflower pizza crust recipes floated around these days. This version is my third attempt, and so far the best one. Some recipes include nutritional yeast, or more cheese, different herbs, and cooking times. Let the experiments begin!
1/2 head cauliflower, roughly chopped
1 egg
1/4 cup chopped fresh parsley
1 teaspoon chopped garlic
1/2 cup quattro formaggio cheese blend
Salt and pepper to taste
Place cauliflower pieces through the feeding tube of the food processor using the grating blade; pulse until all the cauliflower is shredded. (You can also grate the cauliflower using a box grater.) The cauliflower should look like a cross between white rice and shredded white cheese, as pictured above.
Preheat oven to 450 degrees.
Place shredded cauliflower in a steamer; steam until softened, about 15 minutes. Transfer cauliflower to a large bowl and chill in refrigerator for about 15 minutes, stirring a few times.
Mix egg, parsley, garlic, cheese, salt, and pepper into the chilled cauliflower until fully incorporated. Pour the mixture onto a parchment or Silpat-lined baking sheet. Shape the mixture into a pizza shape (square or oval) using your hands. Press down firmly so all the ingredients are holding together. Bake until slightly cooked and lightly browned, about 15 minutes. Remove from oven and cover with sauce, toppings, and cheese. Bake until cheese is lightly browned, about 15 more minutes.